

Hello, friend! Happy Monday! Well I am currently in Hawaii chillaxing on the beach! Yesterday my favorite (cough only) most precious, wonderful, sweet nephew turned ONE!!!! I wasn't able to be at his Dr. Suess birthday party yesterday due to being in Hawaii. I felt like the worst aunt in the world and everyone told me that it was ok, he won't remember, this is a once in a lifetime opportunity, it's ok! My mom told me I should send him a ballon or stuffed animal if I felt that bad. So I looked into it and it's about $50-60 to send a stuffed animal. Not going to happen! So I decided I would just make a gift basket-y thing to send to his party (via my mom) I got together with my friend Jackie and she graciously helped me put this together! So here is my how-to guide on making a Dr. Suess themed gift basket!

These are all the materials I used
- hat box
- foam insert
- yellow easter basket crinkle paper
- blue paint
- sponges
- Dr. Suess fabric
- Feather puffs
- candy sticks
- white & red felt
- yellow, blue & red paper
- cricket
- hot glue gun
- double sided tape
- spray adhesive
- Pillow stuffing


Paint hat box & foam insert inside and out blue


Step Two:
- Use your cricket or your mad skills to cut out the words you will want your basket to say. Mine was for a 1st birthday so I chose "Happy 1st Birthday"
- Decide on shape & size of your background shapes and cut out

Step Three:
Arrange letters on background shapes and adhere with double sided tape

Step Five:
Arrange candy sticks on the back of the signs and use hot glue to stick them to the signs

Step Five:
- Measure the circumference and height of your hat box to deceide how to cut your fabric
- we found this awesome Dr. Suess fabric at Joanns but the lines were not straight across so it took some time to figure how the right height we wanted we finally decided we wanted The Cat in the Hat to be front and center so we measured from here

- Use hot glue to adhere the foam insert to the middle of the box
- Use Spray adhesive to attach the fabric to the hat box
- Spread as much hot glue as possible to the gap around the foam insert and quickly push the yellow crinkle paper into the gap


Step Seven: Make Cat in the Hat hat
- Decide how big you want your hat and cut a rectangle and 1 red circle of red felt 1 slightly larger circle for the brim of the hat of white felt
- attached too short ends with hot glue
- stuff with pillow stuffing
- apply hot glue to the top and apply smaller red circle
- flip hat over and repeat with larger red circle
- cut 2 strips of white felt for the stripes and apply with glue


Step 8: Assemble
- Simply push the sticks into the foam at varying heights to form an interesting and adorable display
- Push the feather puffs in around the signs for decoration
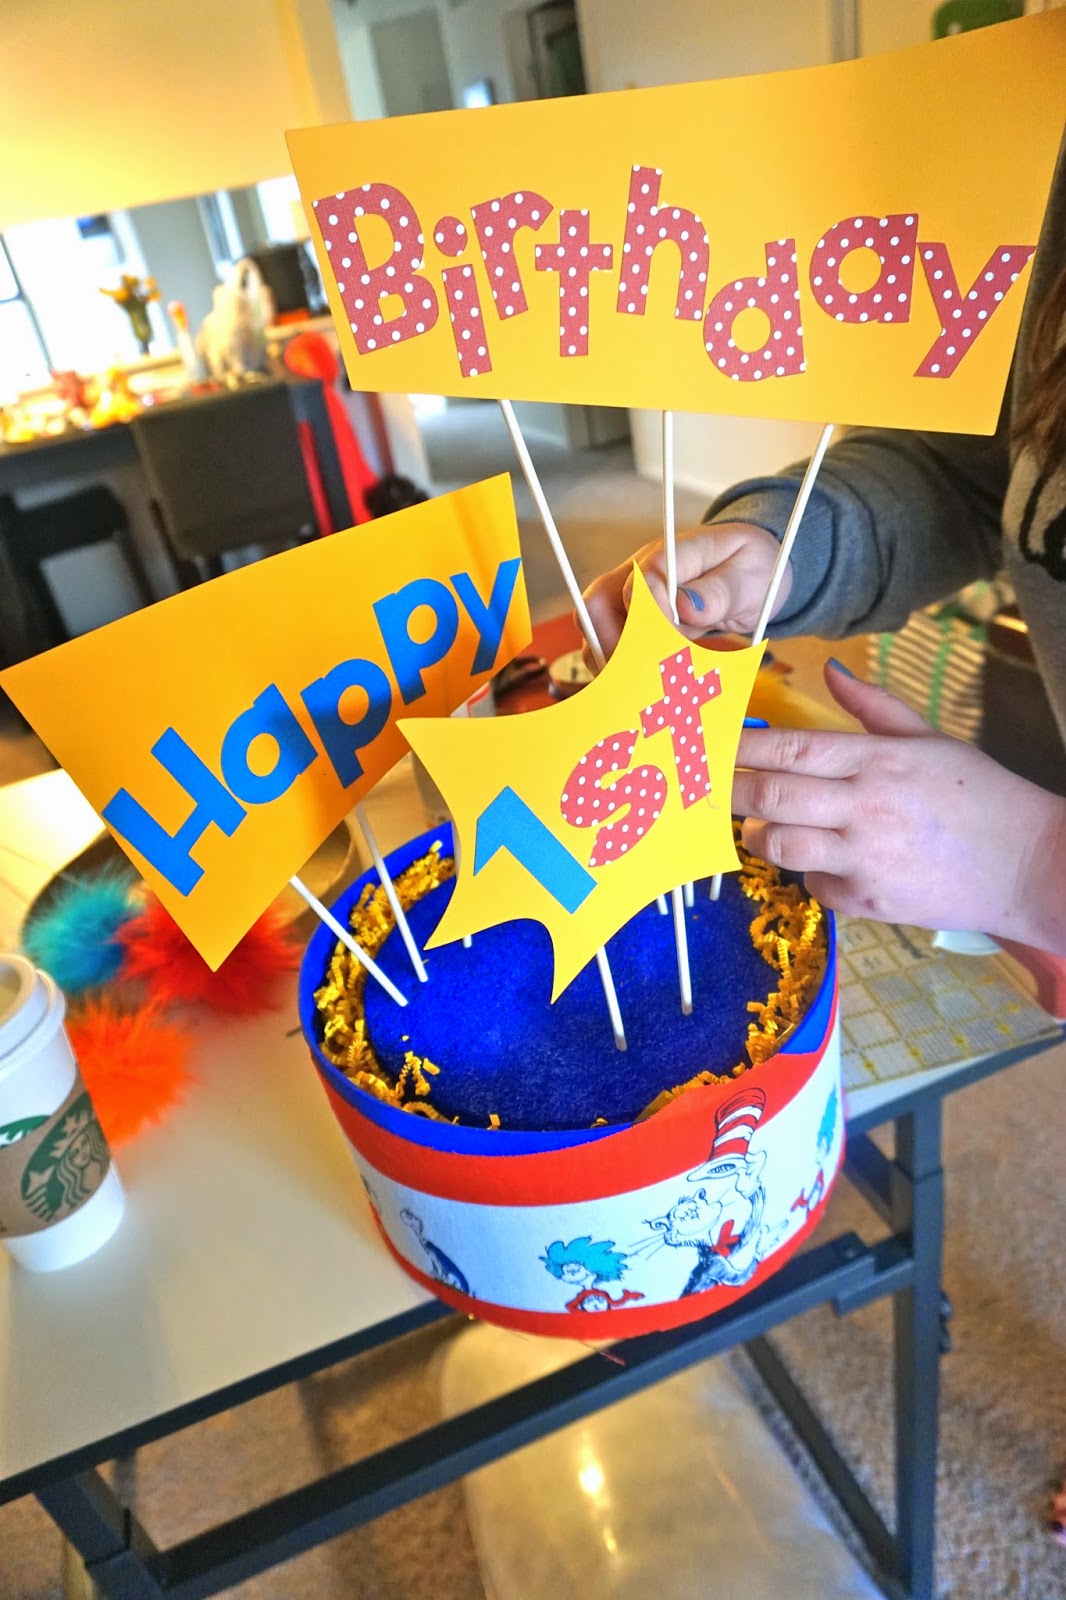


That's it! It was super easy and fun to make! I thought it turned out really cute! I did put some college fund money into an envelope and write a birthday message in the front of the gift, but I didn't snap a picture of that.
I hope Tommy had an amazing birthday and that he knows he is just the most loved little boy in the world! Aunt Mary and Uncle PP love him SOO MUCH!
What do you think? Would you make a gift basket for a birthday gift?

Look at you being so creative!!!! That is ADORABLE!!!
ReplyDeleteAdorable!!!! Love it!!!
ReplyDeleteYay! I'm glad we were able to complete that for you :)
ReplyDeleteThank you so much for alll of your help!
ReplyDeleteThank you! It was a BLAST!
ReplyDeleteThank you!! I am so pleased with how it turned out!
ReplyDeletehahah thank you! I am soo not crafty but I think it turned out pretty good!
ReplyDelete